
hapPINess
Did you know you can identify a pine tree type by looking at its pine cones and needles? Each pine tree is unique. There are over 126 species of pine trees worldwide. Which ones do you know?


Take a walk around your neighborhood and see which pine trees you can identify. You might be surprised by the variety! In the San Francisco Bay Area pine trees include Knobcone, California Foothill Ponderosa, Coulter, Sugar, and Jeffrey pines, and, of course, the GIANT Sequoias!
What types of pine trees are common where you live? See how many you can find.
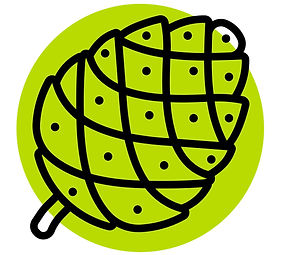
FUN PINE CONE FACTS:
• The main function of a pine cone is to keep a pine tree’s seeds safe.
• Pine cones close their scales to protect their seeds from cold temperatures, wind and even animals that might try to eat them.
• Pine cones open up and release their seeds when it is warm and it is easier for the seed to germinate.
• Pine cones can stay on the tree for more than 10 years before dropping to the ground.
• Some pine cones, like that of the Jack Pine, need a fast hot fire to open and release their seeds. This is called the Jack Pine ecosystem.
• The largest pine cone, measuring 22.9”, was from a Sugar Pine in Ohio.
• Ancient Romans also associated pine cones with Venus, the goddess of love
and fertility.


glittered pine cones
Supplies
Pine cones, school glue and glitter
Optional: ribbon, rubber band and glue gun
Steps
-
Bake pine cones on a cookie sheet for 60 minutes in an oven heated to 200˚F and let them cool for 30 minutes before using.
-
Coat each pine cone with glue.
-
Set the pine cones on a paper or plastic plate and sprinkle glitter over it. For even coverage, rotate the plate as you sprinkle.
-
Let the pine cones dry undisturbed for 3-4 hours before handling.
-
For added decoration, you can tie a bow around the cone. If you have a glue gun, securing the bow with glue works well.
DECORATED PINE TREE TRUNK DISCS
Supplies
Pine tree discs, acrylic paint, paint brush, markers
Optional: twine, ribbon or scrap fabric, drill for holes, sand paper
You can frequently get discs for free from Christmas tree lots. We got ours for free a local Christmas tree lot. Discs are also available for purchase at craft stores sanded and pre-drilled.
Steps
-
If you get the slices fresh from a tree, lightly clean them and bake them for 60 minutes in an oven heated to at 200˚F and let them cool for 30 minutes before using. Lightly sand the surface so it is smooth.
-
Paint a circle in the center. We like to leave a ring of the wood edge showing. Once the paint is dry, draw with marker or paint in the painted circle area.
-
Thread the twine through the hole for hanging. If you’d like, you can tie a bow to the twine at the top of the disc.